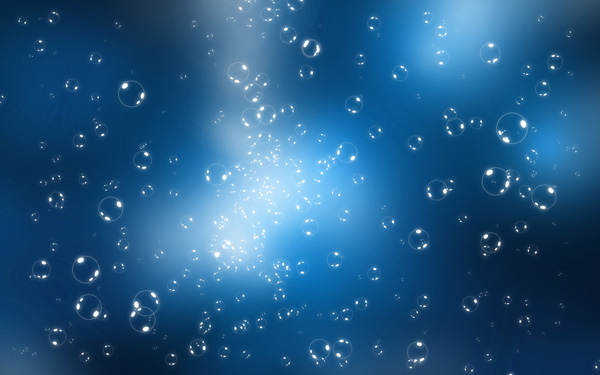
Final Image Preview
Start working by creating a new document (Ctrl+N) in Adobe Photoshop CS5 with the size 1900px by 1200px(RGB color mode) at a resolution of 72 pixels/inch. Use the Paint Bucket Tool (G) to fill with #05162A color the new background layer.

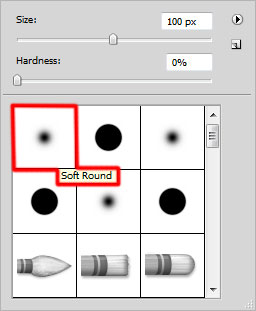
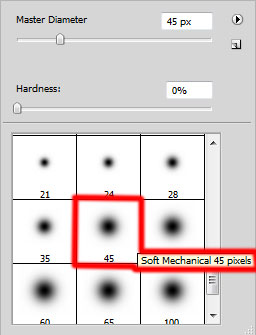
Create a new layer and select the Soft Round brush and set Opacity to 60% in Options bar.

Use this brush to paint the canvas with #52D4FF color as shown.

Create a new layer which will be painted with the same Soft Round brush of white color this time (Opacity - 60%).
Paint on the canvas as shown:
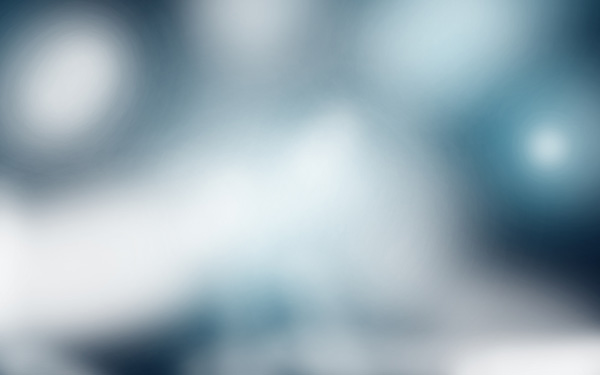
Set the Blending mode for this layer to Overlay.

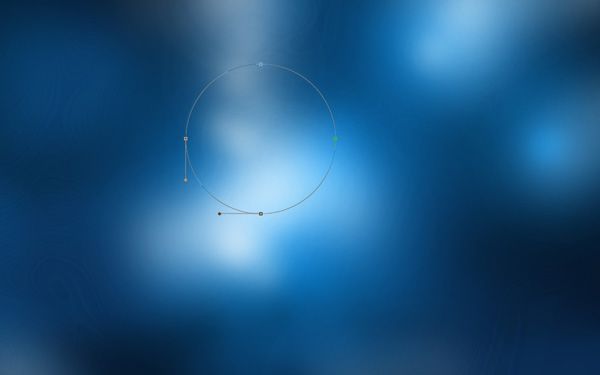
Create the next new layer and select the Soft Round brush of white color (Opacity - 30%) to continue painting the canvas.
We’ve got the next result:

Select now the Ellipse Tool (U), set the drawing mode on Shape Layers in Options bar to draw a small ellipse as shown.
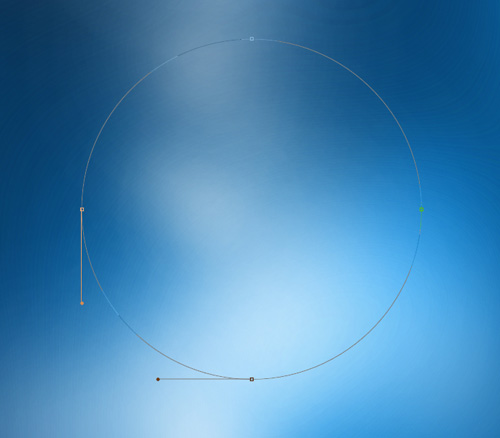
We’ve got the next result:
Set Fill to 0% for this layer and click on Add a layer style icon from bottom part of the Layers panel to selectStroke.
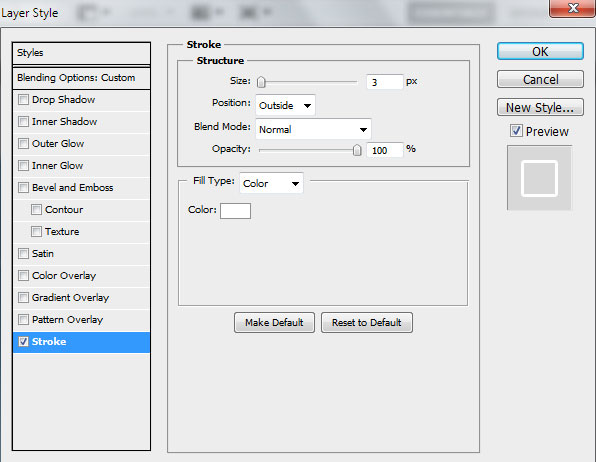
We’ve got the next result:

Take the same tool to represent three highlights of white color.
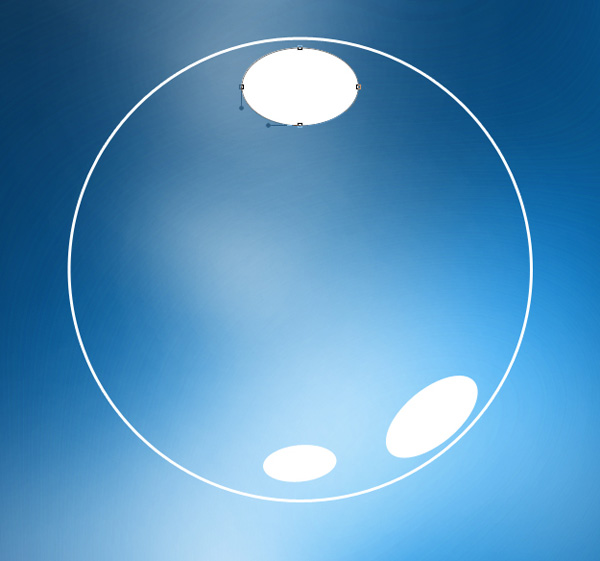
We’ve got the next result:

Combine in a group all the layers composing the bubble (press CTRL button to select the necessary layers and hold on the left mouse’s button while dragging the selected layers on Create a new group icon from bottom part of the Layers panel).
Let’s rasterize the new group that we’ve got. In this select the group and press finally CTRL+E to Merge Down all layers into one single layer. Next we have to select the bubble layer and go to Layer > Duplicate Layer, chooseNew from the Document pop-up menu, and click OK.
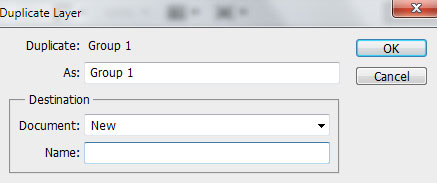
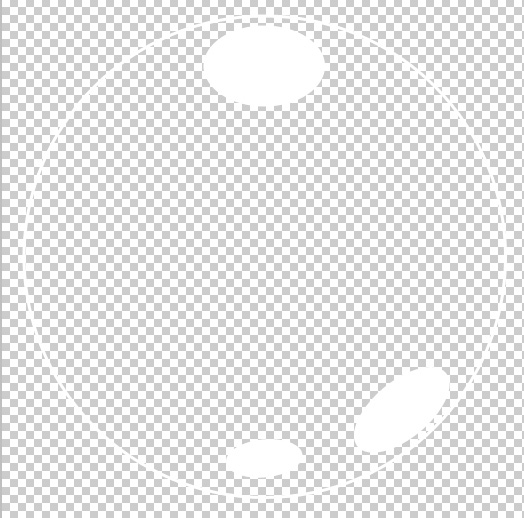
We’ve got a copy of our bubble layer in a new document.
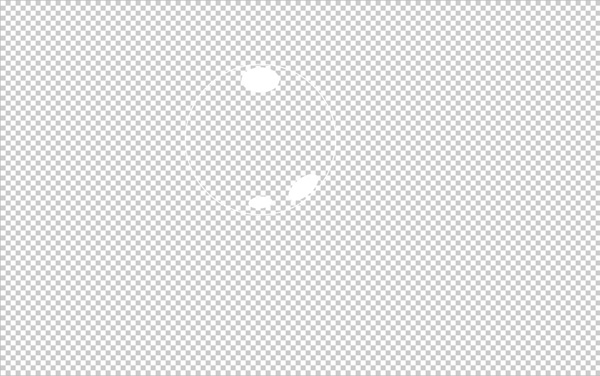
Use Crop Tool (C) to crop the lbubble layer as shown.
Press CTRL+I to Inverse the color.
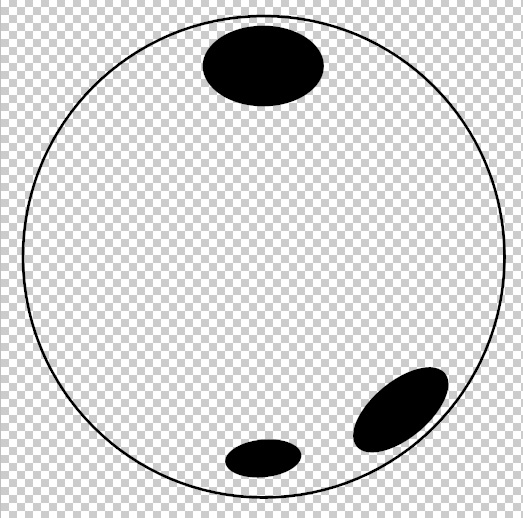
Go to Edit > Define Brush Preset, type the Name for brush, and click OK.

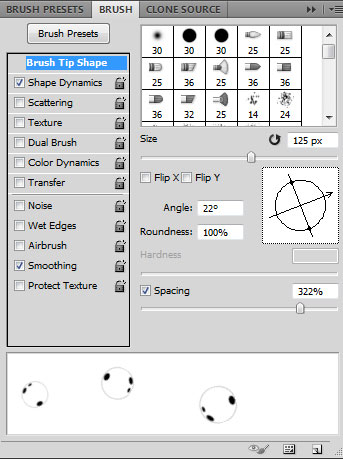
Choose now the bubble brush from Brush Tool (B). We need to customize our brush in Brushes panel (F5), select the Brush Tip Shape.
Click and drag any of the sliders to change the size, the angle and brush Spacing as show. The Preview window displays the changed brushstroke.
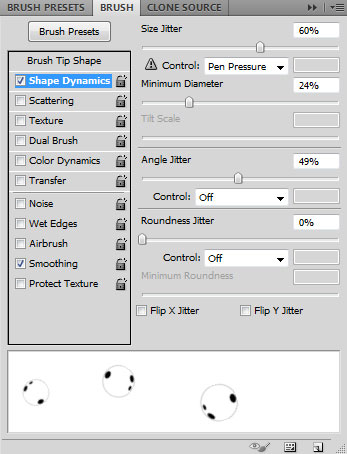
Go to Shape Dynamics:
Create the next new layer and use bubble brush to represent many small bubbles.
Make a copy of the last made layer and apply on the copy’s layer the next filter: Filter > Blur > Gaussian blur.

We’ve got the next result:
Create the new layer to insert with a brush of big diameter several bubbles as shown.

Apply on the layer the next filter: Filter > Blur > Gaussian blur.
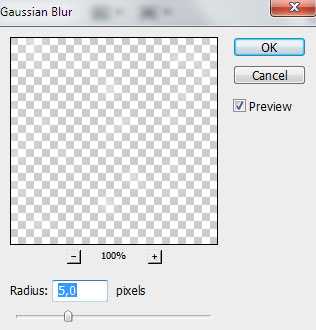
We’ve got the next result:

Click Create new fill or adjustment layer from bottom part of the Layers panel and click to Curves to adjust the curve shape as shown to make a little color corrections.
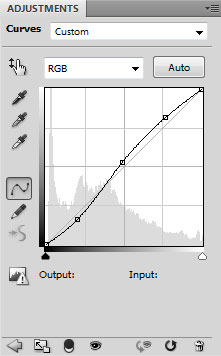
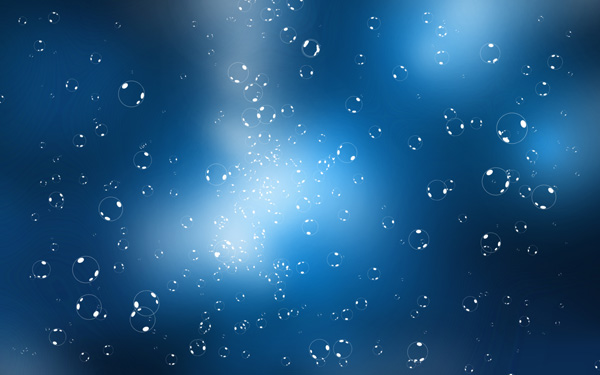
We’ve got the next result:
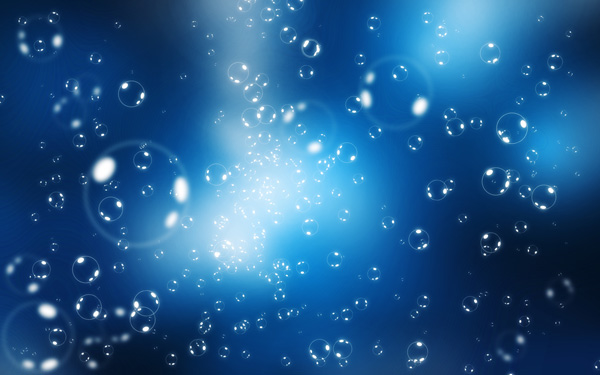
The final result!
 Vexel comes from the combination of the words "vector" and "pixel"। It uses a pixel-based form of raster art to produce sharp-edged lines, flat color areas and smooth gradient fills. There are different techniques involved in creating vexels, but paintbrushes, pencils and other free hand tools are usually not recommended. Whichever techniques is used, the resulting image is smooth, crisp and somewhat realistic. This post features vexel art that are sure to wow you and give you inspiration. Enjoy!